
At-Home Heavy Bag Workout: Punch Your Way to Fitness
An at-home heavy bag workout delivers one of the most effective full-body fitness routines you can do without leaving your house — burning 300–500 calories per 30-minute session while combining cardio and strength training. This guide covers how to set up your home bag station (hanging vs freestanding), choosing the right bag weight and gloves, a complete 5-round beginner workout, an advanced finisher, kick and defensive movement drills, cool-down, and a 12-week progression plan.
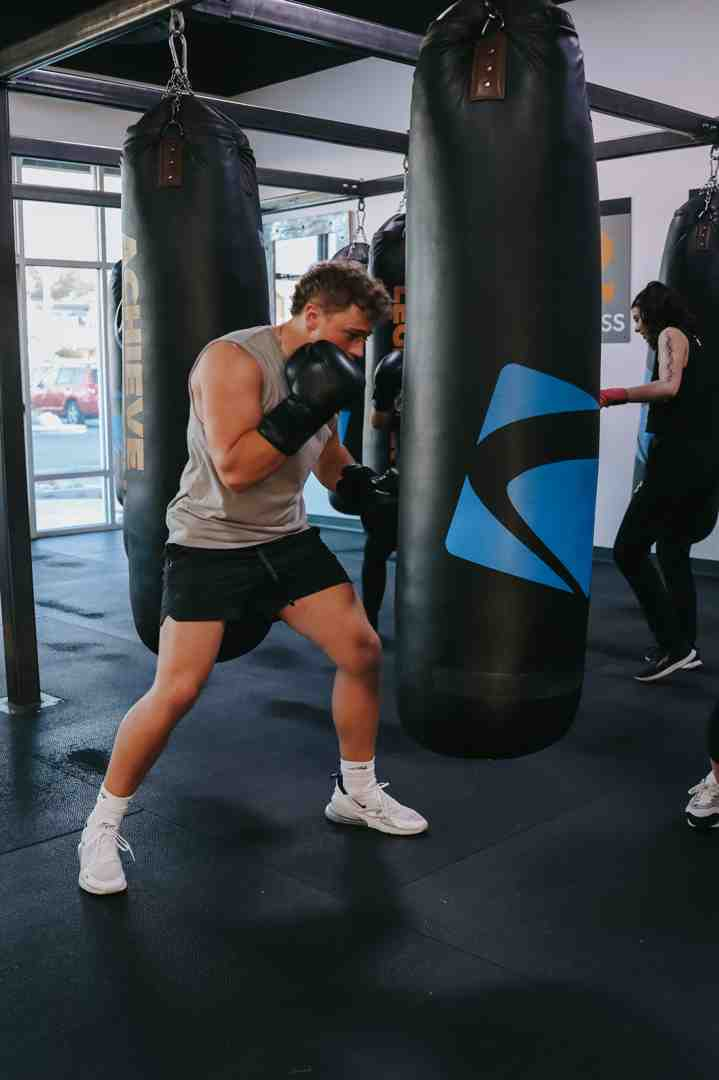
Why Heavy Bag Training Is Perfect for Home Fitness
An at-home heavy bag workout delivers one of the most effective full-body fitness routines you can do without leaving your house. Here's the quick structure:
- Warm-up: 5 minutes (jumping jacks, arm circles, shadowboxing)
- Main workout: 3–5 rounds of 3 minutes with 1-minute rest
- Techniques: Jab, cross, hook, uppercut combinations
- Intensity: Start at 50–70% power, build gradually
- Cool-down: 5 minutes stretching and light movement
- Frequency: 2–3 times per week for beginners
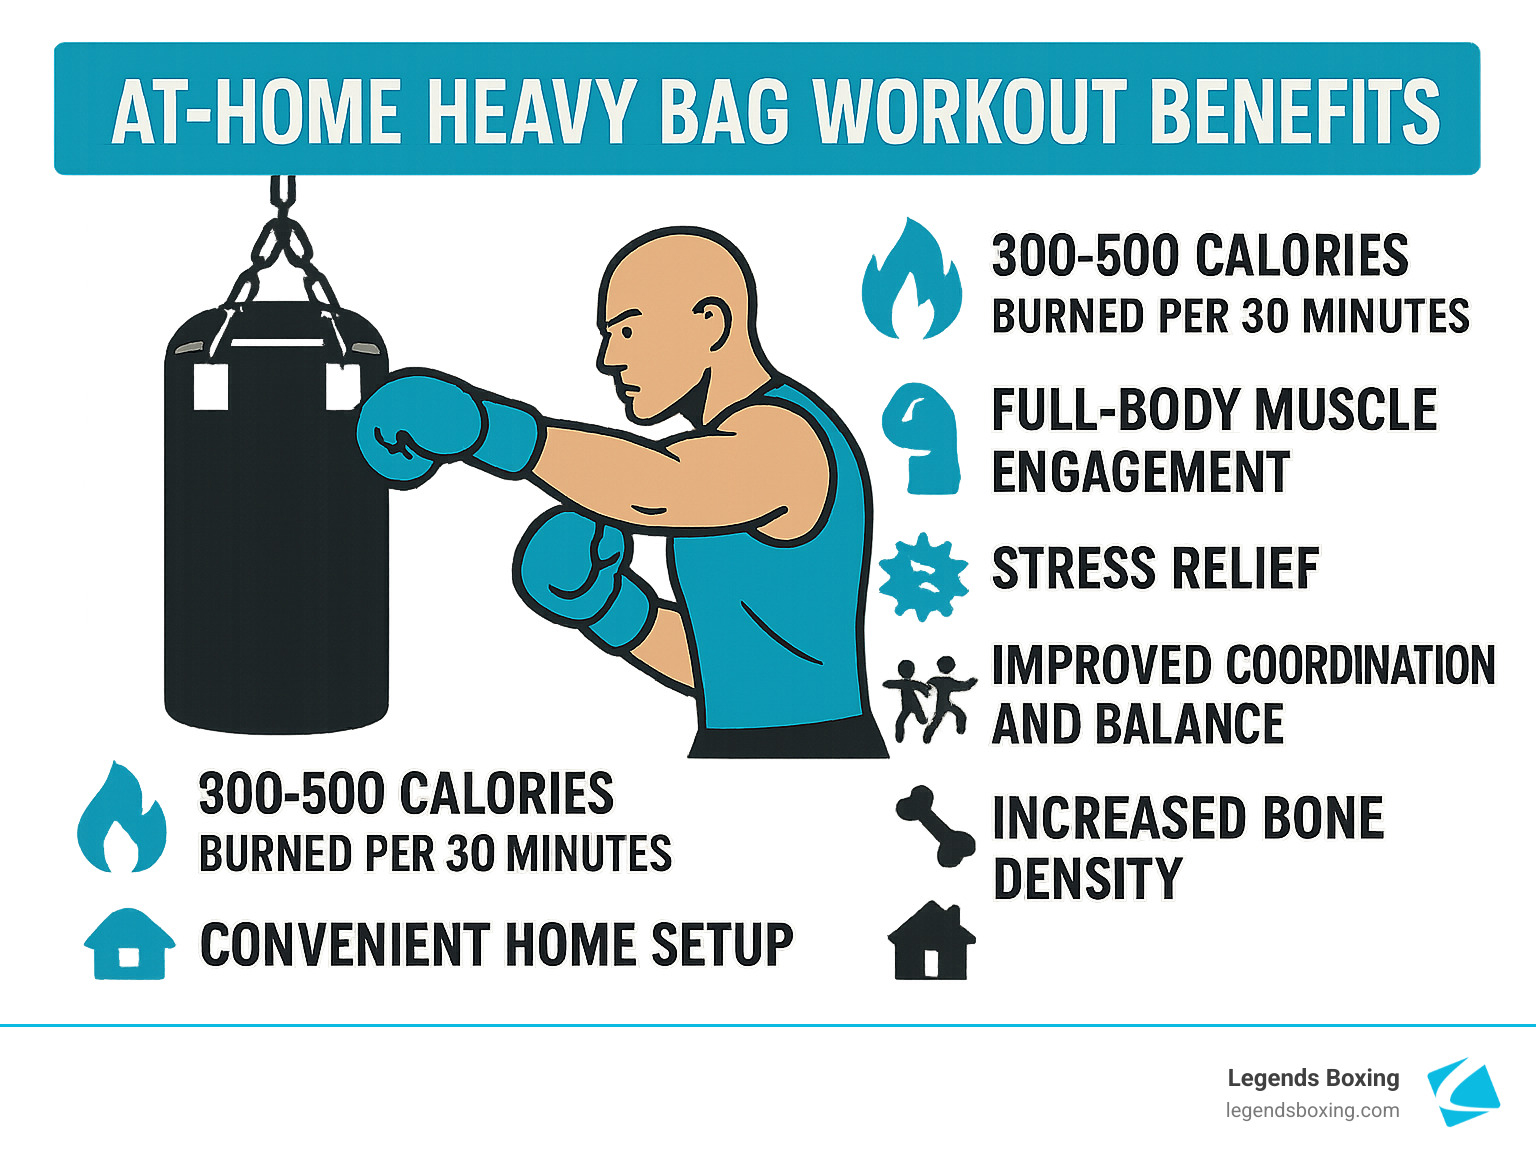
The heavy bag workout boom makes perfect sense. A 30-minute session burns 300–500 calories while engaging every major muscle group in your body. Unlike boring treadmill sessions, hitting a heavy bag combines strength training with cardio in a way that feels more like stress relief than exercise.
As one fitness expert put it: "A heavy bag cardio workout will help you improve your skills and strength while allowing you to really release all your stress onto the bag."
The beauty of heavy bag training lies in its simplicity. You don't need a gym membership, complicated equipment, or even much space. Just you, a bag, and the determination to throw some punches.
I'm Robby Welch, National Head Coach at Legends Boxing with over two years of experience helping people find the transformative power of boxing fitness. I've seen how an at-home heavy bag workout can turn stressed professionals into confident, energized athletes who actually look forward to their daily exercise routine.
Why Train on a Heavy Bag at Home?
Let's be honest — most of us have felt that urge to punch something after a particularly stressful day. Heavy bag training gives you a healthy (and incredibly satisfying) way to do exactly that, while delivering fitness benefits that traditional cardio machines just can't match.
The Ultimate Stress Relief Session
There's something almost magical about the feeling of landing a solid punch on a heavy bag. That satisfying thud isn't just noise — it's your stress leaving your body. High-intensity exercise like boxing dramatically reduces cortisol levels while flooding your system with mood-boosting endorphins.
Countless students walk into their first at-home heavy bag workout looking frazzled and leave with genuine smiles. The physical impact provides an outlet for daily frustrations that no amount of meditation apps can match.
Strength Meets Cardio in Perfect Harmony
While you're burning those 300–500 calories per session, you're also building serious functional strength. Each punch engages your core, shoulders, back, and legs as you generate power from the ground up. The bag's resistance forces your muscles to work harder, creating that perfect marriage of cardio and strength training.
Unlike running on a treadmill (where you're basically moving in one pattern forever), heavy bag work constantly challenges your coordination, balance, and timing. Your brain stays engaged as your body gets stronger.
Building Stronger Bones While Having Fun
Heavy bag training offers a unique bonus that most people don't realize — it's one of the few cardio exercises that actually increases bone density. The repetitive impact stimulates bone growth, making your skeletal system stronger while you're getting your heart rate up. This makes it especially valuable as we age, when maintaining bone health becomes increasingly important.
Your 24/7 Personal Gym
Once you've set up your home heavy bag station, you've got a complete gym available whenever you need it. No commute time, no monthly fees, no waiting for equipment. For busy professionals juggling work and family, this convenience factor often makes the difference between consistent training and good intentions that never happen.
Setting Up Your At-Home Heavy Bag Station
Setting up your perfect at-home heavy bag workout space doesn't require a massive garage or basement. With some smart planning and the right equipment choices, you can create an effective training station in surprisingly small spaces.
Hanging vs. Freestanding: Finding the Right Bag
| Feature | Hanging Bags | Freestanding Bags |
|---|---|---|
| Movement | Natural swing — more realistic | Stable, won't swing |
| Installation | Requires ceiling mount (2–3× bag weight) | No installation needed |
| Space | Needs 6 ft clearance in all directions | Compact footprint |
| Realism | Authentic bag movement | Less realistic feel |
| Cost | Lower initial cost | Higher upfront price |
| Portability | Permanent installation | Easy to move or store |
Hanging bags give you that authentic boxing gym feel — they swing naturally when you hit them, forcing you to time your combinations just like real boxing. The catch: your ceiling needs to handle 2–3 times the bag's weight, and most apartments aren't built for that kind of stress.
Freestanding bags (like the Wavemaster XXL) just need to be filled with water or sand, and you're ready to punch. They won't give you that realistic swinging motion, but they're incredibly convenient and surprisingly stable once properly weighted.
Weight Selection Made Simple
Most adults do well with a 100-pound bag — heavy enough to absorb your punches without flying around, but not so heavy it feels like hitting concrete. A simple rule: choose a bag that weighs roughly half your body weight. If you're 160 pounds, an 80–100 pound bag works perfectly.
- Heavier bags (120–150 lbs) — great for building punching power, but can be unforgiving on hands and wrists when starting out
- Lighter bags (70–100 lbs) — let you work on speed and combinations without beating up your joints
Length matters too. Standard bags are about 4 feet long, perfect for punches. Longer bags (5–6 feet) give you body shot targets and room for kick practice.
Space Planning and Safety
For hanging setups, you'll need at least 6 feet of clearance in all directions. Check your ceiling joists carefully — standard drywall anchors won't cut it for a heavy bag that's getting pounded regularly.
Freestanding bags need much less room since they don't swing, making them perfect for apartments or tight spaces.
Essential Gear That Actually Matters
- Boxing gloves (12–16 oz) — the perfect balance of protection and mobility for heavy bag work
- Hand wraps — not optional; essential for supporting your wrists and protecting your knuckles from repeated impact
- Floor mat — protects your flooring and reduces noise for downstairs neighbors
- Athletic shoes with solid lateral support to prevent ankle rolls
Fill materials: Quality bags combine sand for realistic density with fabric and foam for proper consistency. Avoid bags filled only with sand — they become rock-hard over time and can injure your hands even through gloves.
Safety Precautions for Beginners
Master Hand Wrapping First
Before you throw a single punch, learn proper hand wrapping technique. Your wrists take tremendous force during heavy bag training, and proper wraps provide crucial support. Think of wrapping as your insurance policy — it takes two minutes but prevents weeks of injury recovery.
The 50–70% Power Rule
Here's where most beginners go wrong: they think harder punches equal better workouts. Start at about 50–70% of your maximum punching power and focus on perfect technique instead. Your hands, wrists, and shoulders need time to adapt to the impact. Power will come naturally as your form improves.
Warm Up Like Your Safety Depends on It
Never start hitting the bag with cold muscles. Spend 5–10 minutes warming up first — your joints need that preparation time, and your workout will feel much better when your body is ready for action.
Joint Alignment and Gradual Volume
Keep your wrists straight and strong at impact — bent wrists under heavy bag force spell trouble. Start with shorter sessions (15–30 minutes) and gradually increase both duration and intensity over several weeks. Your knuckles need time to toughen up, and rushing this process leads to unnecessary pain.
Choosing Your Bag & Gear
Glove Selection That Protects and Performs
For heavy bag work, 12–16 oz boxing gloves hit the sweet spot. Heavier gloves (14–16 oz) provide maximum protection — perfect when learning proper form. Lighter gloves (12 oz) allow faster hand speed once your technique is solid. MMA gloves don't provide enough padding for intense bag sessions — stick with proper boxing gloves for your main training.
Optional Gear Worth Considering
A mouthguard isn't essential for solo bag work, but it's useful if you plan to progress to partner training. Focus your budget on quality gloves and wraps first — everything else can wait.
For budget-conscious beginners, you can create a DIY bag option using a heavy duffel bag filled with rags, sand, or wood dust for under $20. It won't last as long as commercial bags, but it's a great way to test your interest before investing in professional equipment.
Maintenance Tips for Long-Term Use
Check your mounting hardware regularly — loose bolts and worn chains can create dangerous situations. Clean your bag surface periodically and inspect for excessive wear, especially around the seams. Wipe down gloves after every session; replace hand wraps every 3–4 months or when they lose elasticity.
The Ultimate At-Home Heavy Bag Workout
Getting Your Stance Right
Before you throw your first punch, nail down your boxing stance. Stand with your feet shoulder-width apart, front foot flat on the ground, and back foot turned at a 45-degree angle. Keep your hands up at cheekbone level with your elbows tucked close to your body.
Power comes from your hips, not just your arms. Every punch should involve hip rotation and weight transfer from your back foot to your front foot. This might feel awkward at first, but it's what separates real boxing from just flailing at a bag.
Breathing Like a Boxer
Proper breathing keeps you going strong through all five rounds. Exhale sharply with each punch — make a "tss" sound as you strike. Inhale during your recovery movements between combinations. This rhythm prevents the early fatigue that leaves you gasping after round two.
Dynamic Warm-Up (10 minutes)
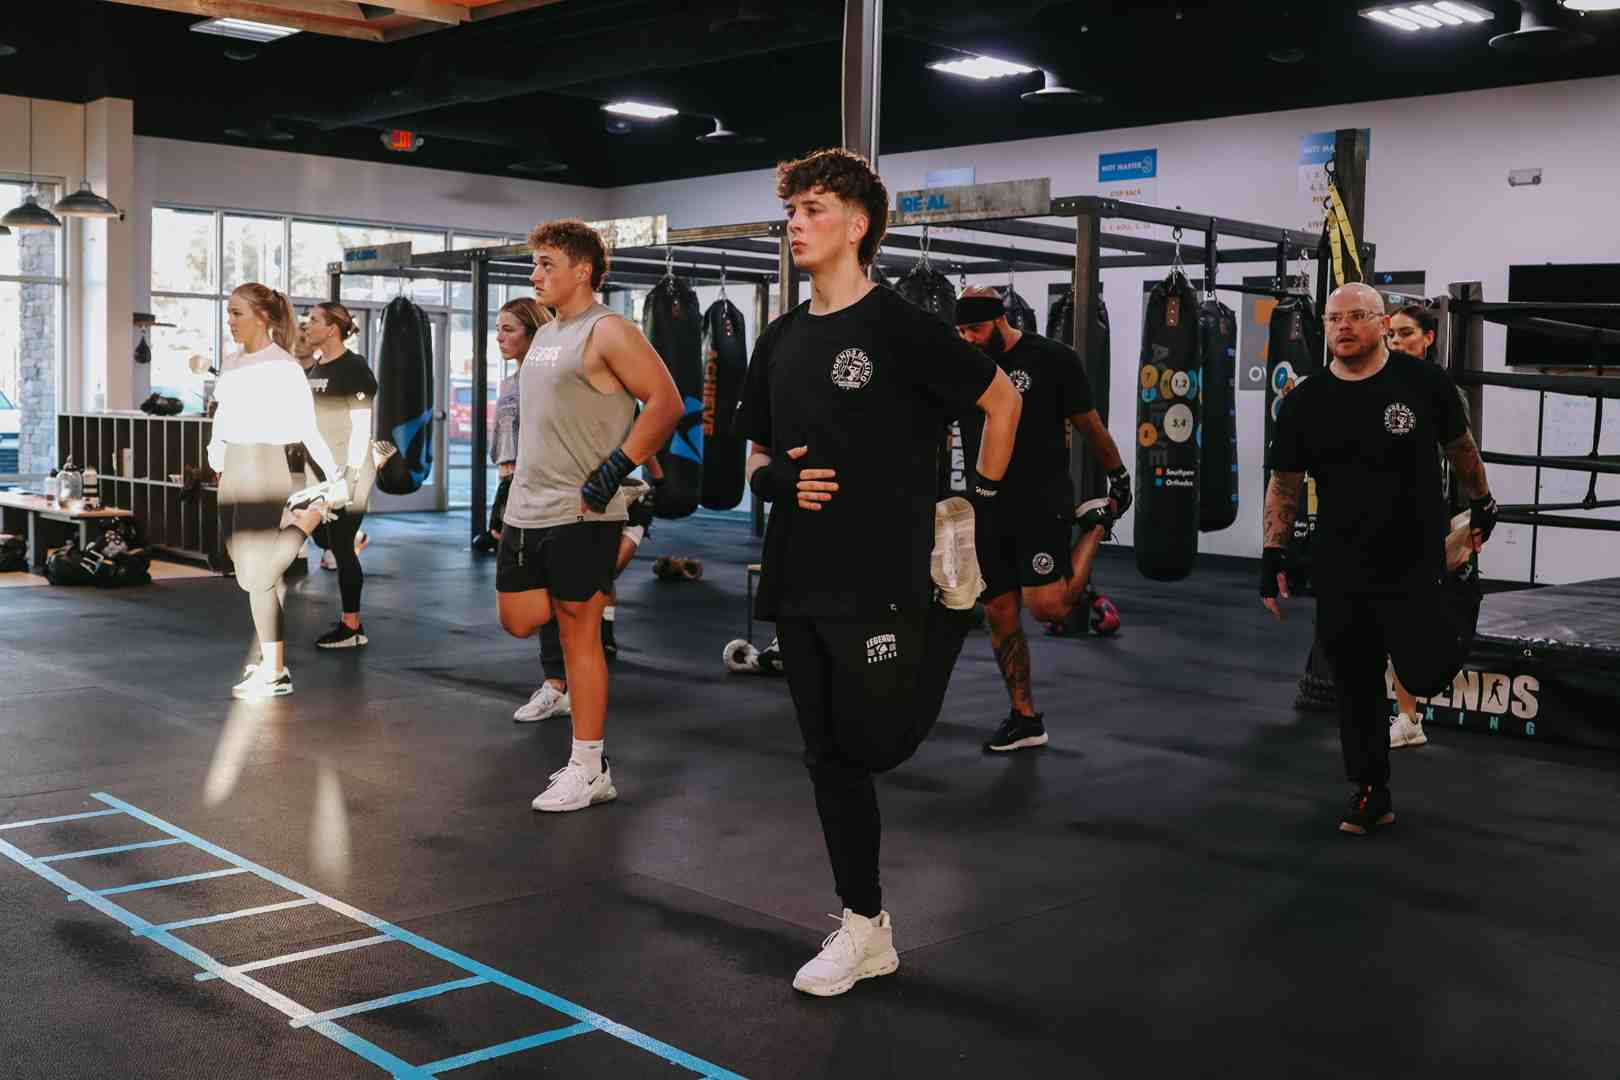
Never start hitting the bag cold. Spend 5–10 minutes with this warm-up sequence:
- Jump rope — 2 minutes. No rope? Simulate the movement. Gets your calves firing, improves footwork rhythm, and raises your heart rate. Your legs will thank you later when you're generating power from the ground up.
- Arm circles — 1 minute. Start small and gradually make them bigger. 30 seconds forward, 30 seconds backward. Your shoulders need to be loose and ready for the repetitive punching motion.
- Boxer shuffle — 2 minutes. Stay light on the balls of your feet with your hands up in guard position. You're training your legs to stay active while your upper body works.
- Hip circles and dynamic stretches — 2 minutes. Rotate your hips both directions, do some leg swings, and swing your arms across your body. Your core and hips are about to generate serious power.
- Light shadowboxing — 3 minutes. Practice your punches in the air, focusing on perfect form rather than speed. This prepares your nervous system for the specific movements you'll use on the bag.
Basic Punch Techniques
Master these four fundamental punches before thinking about fancy combinations:
Jab — extend your lead hand straight toward the bag, rotating your fist so your knuckles face down at impact. Snap it back to guard position immediately. The jab sets up everything else and keeps you at the right distance from the bag.
Cross — drive your rear hand straight forward while rotating your hip and pivoting your back foot. This punch should feel like you're trying to drive through the bag, not just hit it. When done correctly, you'll feel the power start from your back foot and transfer through your entire body.
Hook — keep your elbow at 90 degrees and throw in a smooth circular motion. Hip rotation is crucial — the punch should feel like you're swinging a baseball bat, with your whole body behind it. Works great for both head and body shots.
Uppercut — drop your hand slightly and punch upward, as if you're trying to hit someone's chin. Bend your knees slightly and drive up with your legs for maximum power.
Body shots — always bend your knees to get to the proper level rather than punching downward. This maintains your power and keeps your form clean.
Beginner 5-Round Workout
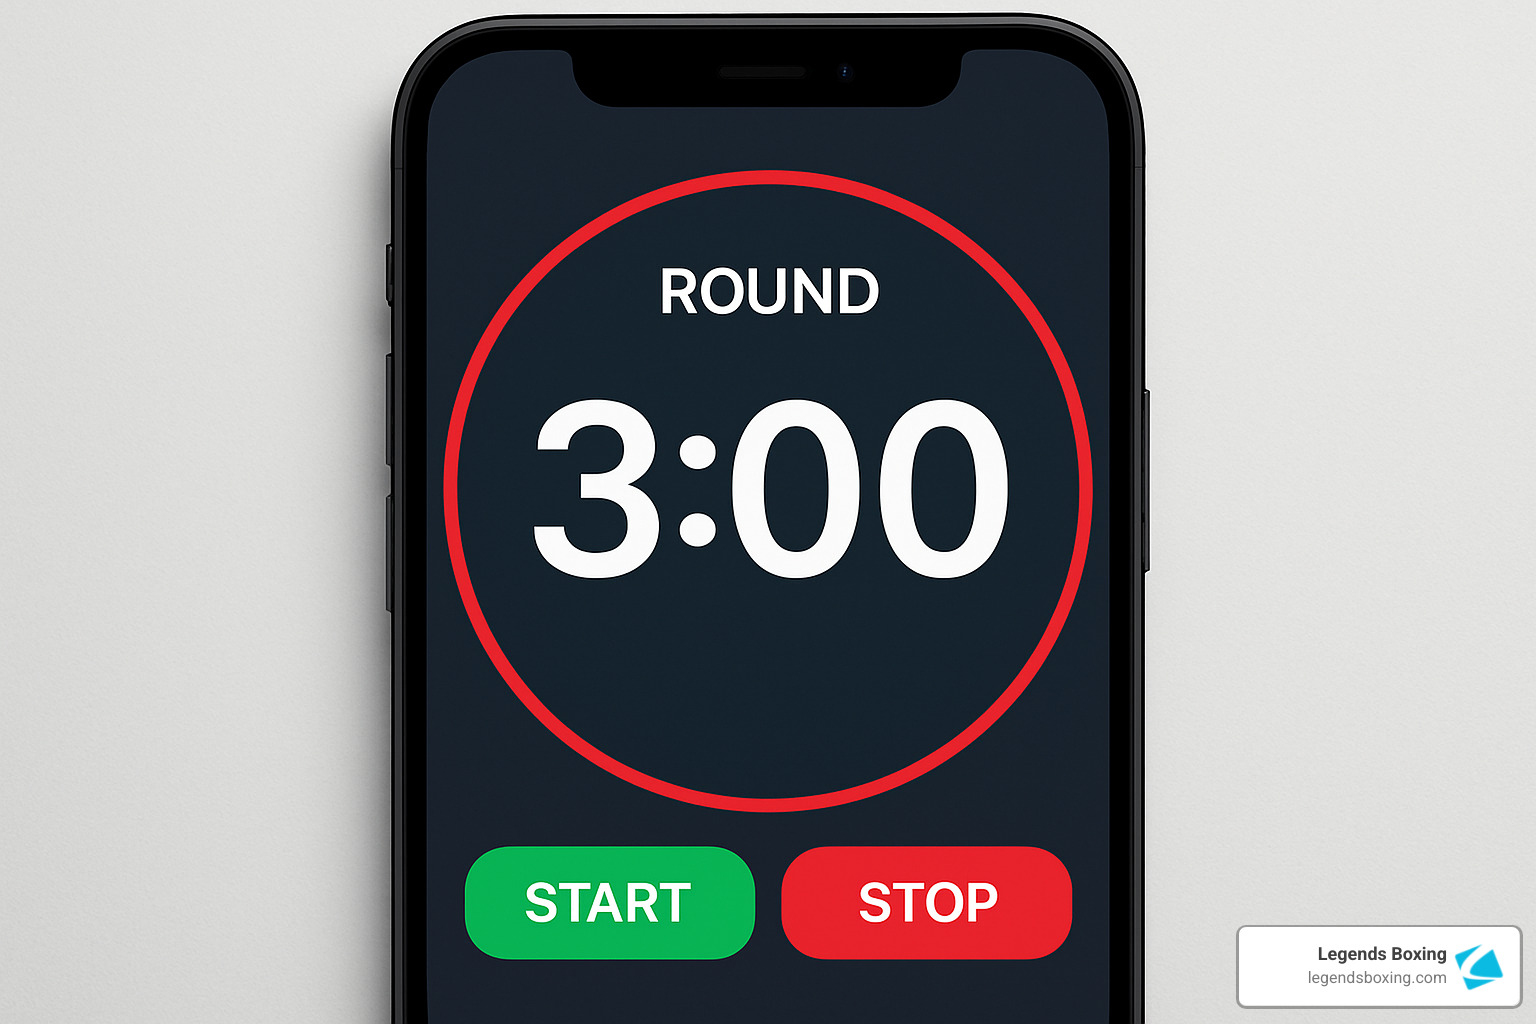
Work in 3-minute rounds with 1-minute rest periods — the same format professional boxers use. This creates a high-intensity interval training (HIIT) format that torches calories while building both strength and endurance.
Round 1 — Jab-Cross Foundation: Alternate between jabs and crosses at a steady, controlled pace. Aim for 50–60 punches per minute — this isn't about speed yet. Focus on perfect form, proper stance, and returning your hands to guard position after every punch.
Rest: 1 minute of light movement — keep moving gently, take deep breaths, or do very light shadowboxing to stay warm.
Round 2 — Power Development: Throw single power shots with full hip rotation, taking 2–3 seconds between punches to reset your stance. Alternate between jabs, crosses, and hooks. Each punch should move the bag significantly.
Rest: 1-minute plank hold — engages your core while giving your arms a break.
Round 3 — Combination Building: Practice simple combinations (jab-cross, jab-cross-hook, double jab-cross). Start slowly and gradually increase speed, but never sacrifice form for speed. Good combinations flow smoothly from one punch to the next.
Rest: 1 minute light movement.
Round 4 — Body Shots: Mix head and body punches, bending your knees to reach body level properly. This round builds serious leg strength and teaches you to change levels effectively.
Rest: Quick mountain climbers — maintains your heart rate while giving your arms different work.
Round 5 — Freestyle Flow: Combine everything you've practiced, mixing punches freely while focusing on smooth transitions and consistent power output. This is where it all comes together and you start feeling like a real boxer.
Advanced Finisher
Once you've mastered the beginner routine, these drills push your skills and conditioning to the next level:
Punch Pyramid (4 minutes) — start with just a jab, then jab-cross, then jab-cross-hook, then jab-cross-hook-uppercut. Each sequence builds on the last, creating increasingly complex combinations that test both memory and coordination.
Kick-Punch Combinations (3 minutes) — integrate rear kicks and knee strikes with your punching combinations. Try sequences like two jabs → left cross → rear kick. This challenges balance and coordination while giving you a more complete martial arts workout.
Tabata Speed Bursts (4 minutes) — alternate 20 seconds of maximum speed punching with 10 seconds of rest, repeated 8 times. During work periods, focus purely on hand speed — power is secondary. Builds incredible hand speed and mental toughness.
Defensive Movement Integration (3 minutes) — add slips, ducks, and pivots between your punch combinations. Throw a combination, slip left or right, then counter with another combination. Simulates real boxing scenarios and builds functional movement patterns.
Adding Kicks & Defensive Moves
Rear round kicks — pivot on your support foot and drive your rear leg in a circular motion into the bag. Focus on hip rotation and follow through — power comes from your hips, just like your punches.
Teeps (push kicks) — drive your knee up and push the bag away with the ball of your foot. Develops leg strength while teaching you to control distance.
Bob and weave — duck under imaginary punches while moving side to side around the bag. Forces your core to work overtime while teaching you to stay mobile.
Pivot and circle drills — constantly move around the bag, throwing punches from different angles. Forces you to maintain balance while generating power from unstable positions.
Cool-Down & Stretch
Your cool-down is just as important as your warm-up. Skipping this phase leads to stiffness, soreness, and longer recovery times. Take these 8–10 minutes seriously:
- Light shadowboxing — 2 minutes. Gradually decrease intensity with slow, controlled movements to bring your heart rate down naturally.
- Chest stretch — 1 minute. Clasp your hands behind your back and lift them away from your body. Your chest and front shoulders took a beating during all that punching.
- Shoulder stretches — 2 minutes. Pull each arm across your body and hold for 30 seconds. Follow with overhead reaches and gentle shoulder rolls.
- Hip flexors — 2 minutes. Step into a lunge position and hold for a full minute on each side. These muscles worked hard during your power generation.
- Hydrate immediately. Drink water right away — you've been sweating and breathing hard for 30+ minutes. Your heart rate should return to near-normal levels within 5–10 minutes.
Progression, Programming & Common Mistakes
Weekly Frequency and Progression
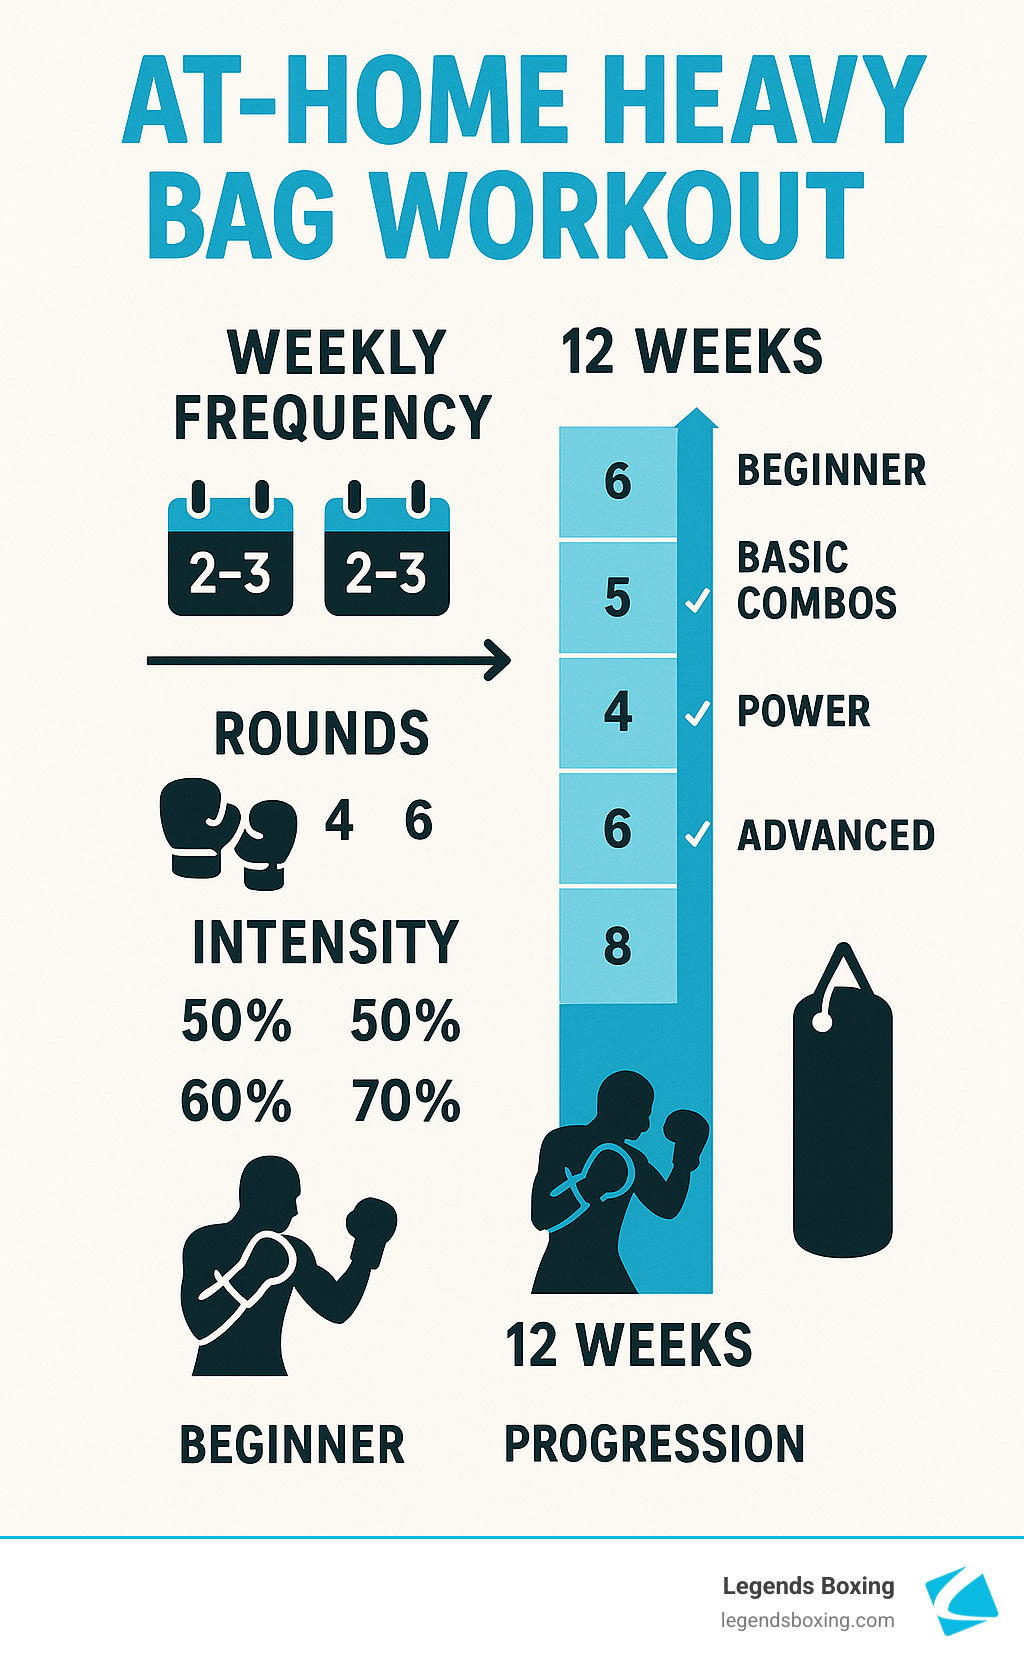
Start with 2–3 sessions per week, allowing at least one day of rest between heavy bag workouts. Your hands and wrists need time to adapt to the impact. Gradually increase session length from 15 minutes to 30–45 minutes over 4–6 weeks.
Adding Rounds and Intensity
Begin with 3 rounds and add one round every 2 weeks until you reach 6–8 rounds. Increase power output gradually — start at 50% and work up to 80% over several months. Elite boxers rarely train at 100% power to preserve their joints.
Power vs. Speed Training Cycles
Alternate focus between power development and speed training. Spend 2–3 weeks emphasizing heavy, powerful shots, then switch to 2–3 weeks of high-speed, lower-power combinations. This periodization prevents plateaus and develops well-rounded skills.
Common Mistakes to Avoid
- Dropping your guard — always return hands to guard position after each punch
- Flat-footed stance — stay on the balls of your feet for better movement and power
- No hip rotation — power comes from your hips, not just your arms
- Staring at the bag — keep your head moving and eyes alert
- Overtraining — more isn't always better; quality beats quantity
Breaking Through Plateaus
When progress stalls, try partner drills if possible, change your training times, or focus on technique refinement rather than just intensity. Sometimes stepping back to master basics leads to breakthrough improvements.
Frequently Asked Questions
How long and how often should I train?
Starting your at-home heavy bag workout journey doesn't require marathon sessions. Shorter, consistent workouts beat sporadic intense sessions every time.
Begin with 15–30 minute sessions, 2–3 times per week. This gives your hands, wrists, and shoulders time to adapt to the impact while building cardiovascular fitness gradually. Think of it like learning to play guitar — your fingertips need time to toughen up.
As your body adapts over 4–6 weeks, you can increase to 45–60 minute sessions or train 4–5 times per week. But here's the secret: consistency trumps intensity every single time. Training 20 minutes three times per week for months will get you better results than one brutal 90-minute session followed by two weeks of recovery.
The most effective sessions follow the 3-minute round format with 1-minute rest periods, just like real boxing matches. Your form matters more than how hard you can hit — poor technique leads to injuries that derail your progress.
Can heavy bag workouts help with weight loss and muscle toning?
A 30-minute session burns 300–500 calories depending on your body weight and how hard you work — comparable to running, but infinitely more engaging.
Unlike treadmill sessions, heavy bag training builds lean muscle while torching calories. Every punch engages your entire body: your legs generate power, your core transfers that energy, your shoulders and arms deliver it, and your heart works overtime to fuel the whole process. This full-body engagement creates muscle definition especially in your arms, shoulders, back, and core.
For serious weight loss results, combine your heavy bag sessions with proper nutrition. Many people stick with heavy bag training longer than traditional cardio because it feels more like stress relief than exercise. When you're having fun, you're more likely to stay consistent — and consistency is what delivers real results.
What's the best way to care for my bag and gloves?
For your heavy bag: wipe it down after each session with disinfectant wipes or a mild cleaning solution. Check mounting hardware monthly for loose bolts or wear. Rotate a hanging bag occasionally so you're not always hitting the same spot — this prevents uneven wear and extends its life significantly. Store your bag in a dry area to prevent mold and mildew.
For your gloves: always wear hand wraps — this absorbs sweat and dramatically reduces odor buildup. After each session, air dry your gloves completely before storing them. Stuff them with newspaper or use glove deodorizers to speed up the process.
Wash your hand wraps after every 2–3 uses and replace them every 3–4 months when they lose elasticity. Keep multiple pairs so you can rotate them.
The golden rule: never store wet equipment in closed containers. This creates the perfect environment for bacteria and odor. Replace any gear that develops tears or loses its protective qualities.
Start Punching Your Way to Better Fitness
Starting an at-home heavy bag workout routine is one of the smartest fitness decisions you can make. You're not just buying a piece of equipment — you're investing in a complete fitness solution that delivers results you can feel within weeks.
Most people notice significant changes in cardiovascular endurance and upper body strength within 4–6 weeks of consistent training. Your coordination improves, your stress melts away with each punch, and you develop the kind of functional fitness that makes everyday activities easier.
Consistency beats perfection every time. You don't need to throw perfect combinations or train like a professional boxer. Start with basic jab-cross sequences, focus on proper form over raw power, and let your skills develop naturally. Set up your space, wrap your hands, and commit to just three rounds to start.
At Legends Boxing, we've watched thousands of people find their inner strength through boxing-based workouts that combine technique with serious conditioning. Your home heavy bag keeps you sharp and fit — and when you're ready to train alongside others, our classes take your skills to the next level.
Find your nearest Legends Boxing location across Utah, Florida, and Texas — or book your first free class today. No experience required. That first session might feel challenging, but it's the beginning of a journey that will make you stronger, more confident, and healthier than you've been in years.